VEGAN GREEN POSOLE FOR CHRISTMAS EVE!!!

Posole

The Scoop on Posole–WHAT IS IT?

Posole, a traditional Mexican soup, is such an integral part of Mexican cuisine, some consider it the country’s national dish. If you’re in Mexico on a Thursday, you might enter a restaurant and see nearly everyone dipping their spoons into bowls of posole.

Where posole really shines in Mexican households is on Christmas Eve. For several nights before Christmas Eve, Las Posadas is a fun family tradition in Mexican households. With traditional songs and a bit of play-acting, family members retell the story of Mary and Joseph on their journey to find shelter before Jesus is born. Those playing Mary and Joseph knock on the door and sing their request for shelter and are told several times there is no room. On Christmas Eve, they are welcomed in, resulting in a happy celebration and a hearty meal of posole and all the typical accompaniments added to the soup.

Because posole is such a delicious soup made with ingredients available year ’round , it’s an ideal make-ahead hot meal any time, but becomes extra celebratory at Christmas time. The real fun with posole is the variety of add-ins typically spooned into the soup, creating interesting textures for the soup adventure.

 Where did the name posole come from?

Taken from the Aztec Nahuatl language, “posole” means foam. Apparently the Aztecs thought the voluptuous posole, or hominy kernels, resembled foam and named the soup potzolli. The soup dates back to the pre-Columbian era. In the true Mexican tradition, posole is actually made with pork and, sometimes, chicken, but this version is strictly vegan. Typical Mexican seasonings include garlic, onions, cumin, oregano, and red or green chiles, depending on regional preferences.

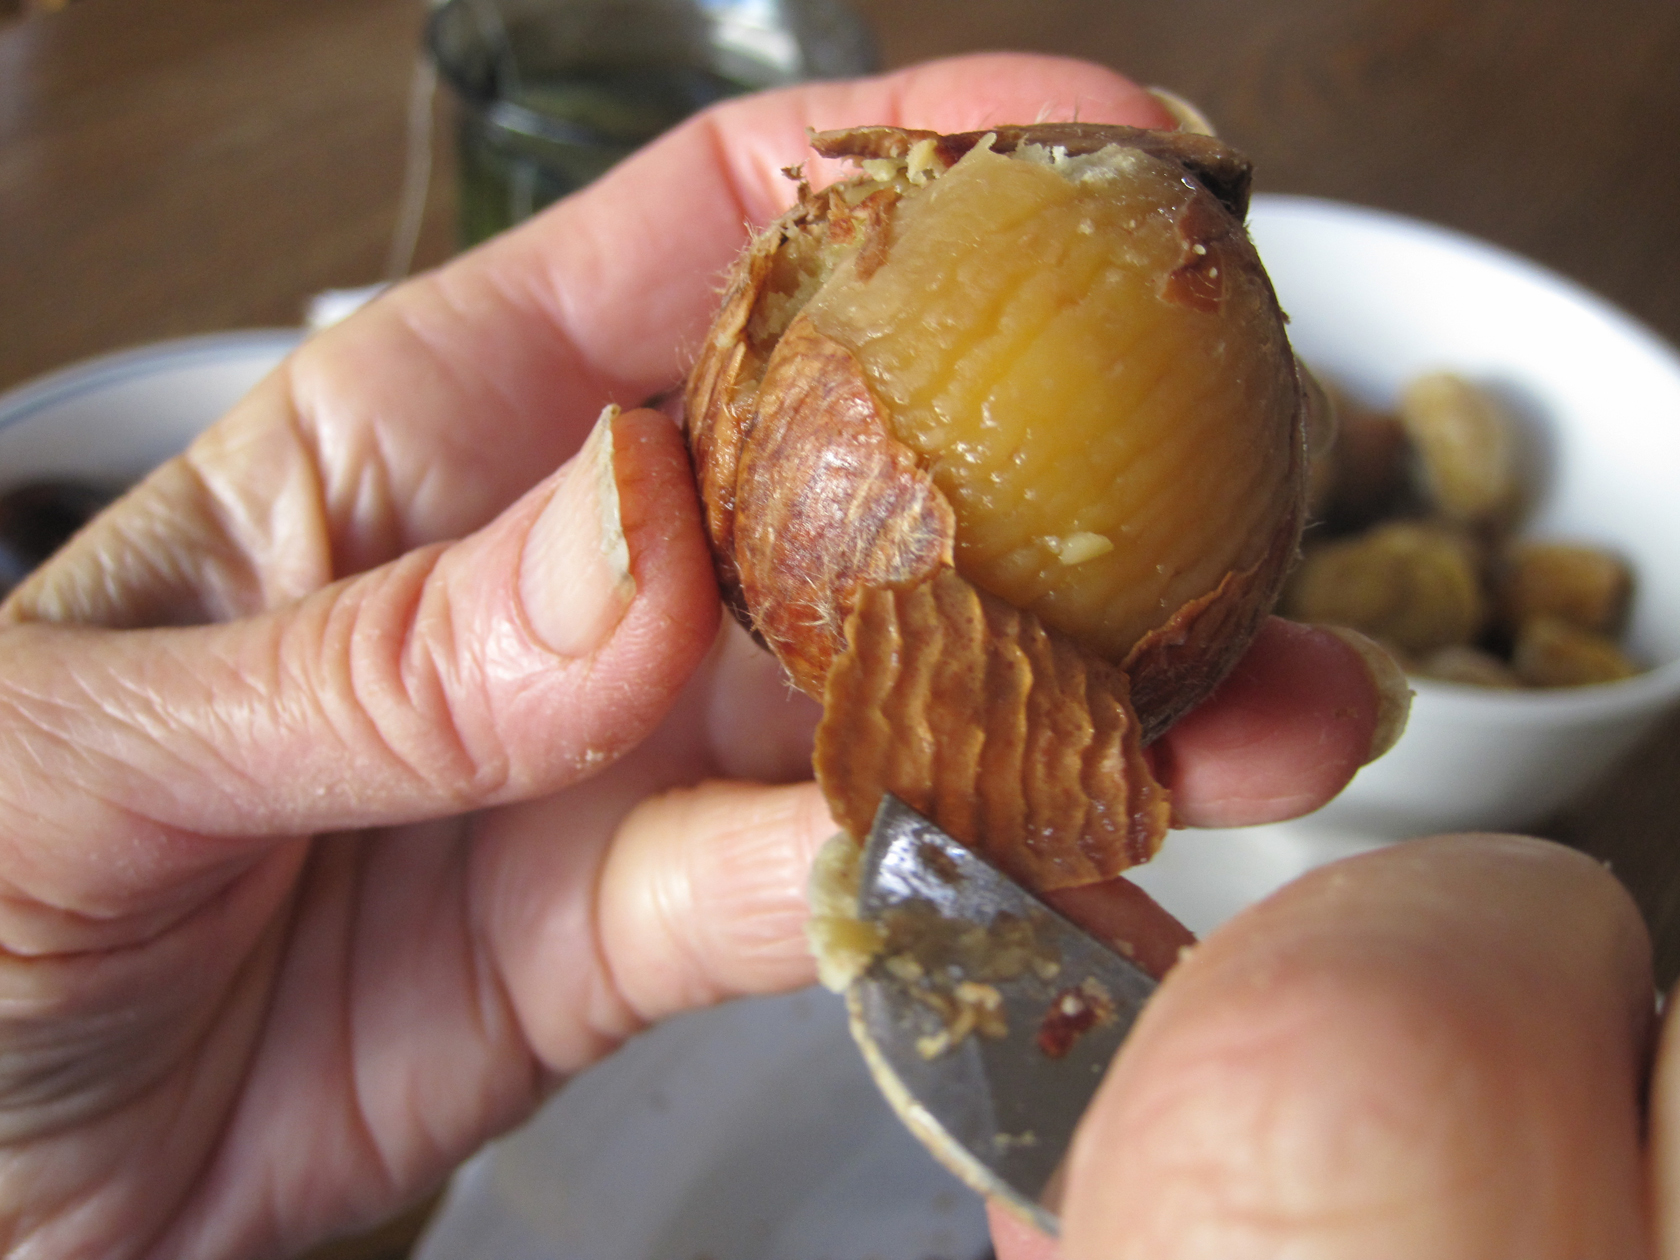
Posole corn, prepared from field corn, was made by the ancient Aztecs in limestone caves. Today’s process of soaking the corn in powdered lime and water results in the familiar puffed, chewy kernels known as hominy. The actual posole corn, which might be white, yellow, or blue, is sweeter and tastier than hominy but is not readily available in chain groceries.

Is posole a cure for a hangover?

If you think posole has curing powers, you head for a big bowl of it. In some regions of Mexico people think  it’s the hot chiles that have given posole its reputation for curing hangovers. Because of this notability, posole is often served on Saturday and Sunday mornings to aid recovery from the past night’s revelry.

Posole waves the colors of the Mexican flag

There are many variations of posole. The soup can be red, green, or white, like the colors of the Mexican flag. Red posole gets its bright color from roasted red chiles. The green posole is made from tomatillos and thickened with ground pumpkin seeds, while the white posole contains hominy in a clear broth with chiles served on the side.

Posole, a festive meal in a bowl, makes a hearty main-dish soup served on special occasions throughout Mexico and is frequently served on Christmas Eve to recognize life’s blessings. When served on New Year’s Day, posole is thought to bring good luck. One of the main ingredients that give this dish distinctive character is hominy, a specially treated white or yellow corn with a pleasantly light flavor and chewy texture. The soup is more festive when accompanied by a banquet of add-ins served on the side, along with corn or flour tortillas.

Add-ins to enhance the soup

The long list of Add-ins I’ve included in the recipe represents all the regional preferences throughout Mexico. Rarely do people serve all of these at the same meal. Choose your favorites and enjoy a delicious bowl of green posole. It makes Christmas Eve dinner a  hearty, jubilant meal.

Holy Moly Posole/Add-ins

 HOLY MOLY GREEN POSOLE

 Yield: 5 to 6 servings

1/2 cup raw pumpkin seeds

1 1/4 pounds fresh tomatillos, husks removed

3 cups vegetable broth or water

1 (14-ouncew) can diced tomatoes

2 large fresh tomatoes, chopped

1 large onion, chopped

3 large cloves garlic, coarsely chopped

1/2 to 2 jalapeno chiles, minced

2 teaspoons ground cumin

1 teaspoon ground coriander

1 teaspoon garlic powder

1 teaspoon dried oregano

1/2 teaspoon chili powder

1 large zucchini, chopped, or 4 ounces green beans, cut into 1-inch lengths

1 red bell pepper, or 1 carrot, chopped

1 (15-ounce) can black beans, drained and rinsed

1 (15-ounce) can pinto beans, drained and rinsed

1 (1 pound, 13-ounce) can hominy, undrained, or 1 (15-ounce) can corn kernels, undrained

1/2 to 1 teaspoon salt

Lemon juice

1 1/2 cups Tofu Sour Cream (recipe below)

Preheat the oven to 350 degrees F. Put the pumpkin seeds in a single layer on a 17 1/2 x 12 1/2 inch rimmed baking sheet. Bake for 8 minutes or until toasted. Alternatively, toast the pumpkin seeds in a skillet over high heat, stirring constantly for 1 1/2 to 2 minutes. Immediately transfer them to a plate to cool. Put the seeds in a blender or food processor. Process until ground to a fine meal.

Wash the tomatillos under running water. (They will retain their somewhat sticky surface.) Slice them into quarters and put them in an 8-to 10-quart stockpot.

Add the vegetable broth, the canned and fresh tomatoes, onion, garlic, jalapeno, cumin, coriander, garlic powder, oregano, and chili powder. Cover and bring to a boil over high heat. Decrease the heat to medium, uncover, and simmer for 10 to 12 minutes.

Add the zucchini and bell pepper and cook 5 to 8 minutes. Add the black beans, pinto beans, hominy with liquid, salt, and the reserved ground pumpkin seeds and cook another 5 minutes to thicken the posole.

Before serving, add the lemon juice and adjust the seasonings. Ladle the posole into large soup bowls, and place a dollop of Tofu Sour Cream into each serving. Serve the add-ins of your choice on the side.

Red Posole/Jackfruit

Add-ins: Sliced radishes, chopped onions, shredded lettuce, shredded green cabbage, diced avocados, sliced green or black olives, crushed baked tortilla chips, steamed or mashed chopped chayote squash, hot sauce, shredded vegan Jack, Cheddar, or nacho cheese, lime wedges, dried oregano, chopped cilantro.

Tofu Sour Cream

1 (12.4-ounce box extra-firm silken tofu, drained

1/4 cup freshly squeezed lemon juice

1/2 teaspoon rice vinegar

1/4 teaspoon salt

Combine all the ingredients in a food processor and process until smooth and creamy. Use immediately or refrigerate for 8 to 12 hours to thicken. Stored in a tightly covered container and refrigerated the Tofu Sour Cream will keep for 1 week.


Cooking & Peeling Chestnuts, Illustrated

COOKING & PEELING FRESH CHESTNUTS

If you’ve visited my NutGourmet blog, then you may be aware I have an insatiable passion for chestnuts. Fresh chestnuts are top of the list of special seasonal foods during the holidays. Part of what makes them so special is that they’re available for such a short season. They’re harvested in September and by Christmas they will be a rarity in the grocery store, except for the Asian markets that import chestnuts from China.

Chestnuts offer delicate sweetness and potato-like texture

So what is it about chestnuts that makes some of us fall passionately in love them? It’s a complex question, because chestnuts have so many wonderful qualities. There’s nothing like them on the planet! Their appearance, flavor, and texture are not like any familiar nuts like almonds or walnuts, yet they’re classified as tree nuts. For me, it’s their divine sweetness–not the kind of sweetness sugar or other sweeteners offer. They’re not as sweet as dates or even a ripe apple or pear. Yet, chestnuts have a distinct sweetness that could be considered somewhat delicate, yet deliciously definitive.

Chestnuts inNout mesh bagThey also have a texture unlike any other nut we’re familiar with. Instead of being firm and crunchy like almonds or softer like pine nuts, chestnuts are starchy with a texture that could be compared to a cooked potato. Yet, they’re able to retain their firm shape when cooked and can be eaten whole or chopped. They can be mashed into a puree and incorporated into sauces, puddings, beverages, or included in baked desserts.

Unlike other nuts, chestnuts are practically fat free and contain only 2% fat compared to almonds, which are about 80% fat. Chestnuts also contain vitamin C, while other nuts do not. Chestnuts can be eaten raw but deliver far better flavor and texture with cooking. You can incorporate cooked chestnuts into beverages, soups, salads, stir-fries, casseroles, puddings, pies, baked goods, and desserts of all kinds.

If this is the first time you’ve considered buying fresh chestnuts, think of it as the perfect time to jump in and give these wonderful nuts an opportunity to show their stuff in a delicious dish. Many years ago, chestnuts totally won me over. Give them a try—I’ll bet you’ll get hooked on them, too.

So many people feel intimidated by chestnuts and haven’t the faintest idea how to cook them, peel them, or even incorporate them into a recipe. With this step-by-step guide that follows, you’ll see how easy it is to work with them and store them until you’re ready to add them to a tasty recipe.

Chestnut Cooking and Peeling Step-by Step Guide

Tools: All you really need is a paring knife with a firm, short blade and a good point. The blade should be no longer than 2 or 3 inches long. If you have a chestnut knife, all the better, but it’s really not essential.

Firm paring knife    Chestnut knife 2


A chestnut knife has a blade only 1 1/4 inches long with a curved tip. The blade is very firm, making it easy to grip the chestnut peel and pull it off.  You can do the same thing with a firm paring knife, but if you would like to buy a special chestnut knife, you won’t find it in the average kitchen shop. You can order one directly from some of the chestnut growers in the resources section below.

American Grown vs. Asian Imported Chestnuts: American grown chestnuts can be purchased online. They’re considerably smaller and more expensive than those imported from other countries. I think they’re also much sweeter. The quality I like best about American grown chestnuts is that they’re far easier to peel than the ones imported from China or Italy. If I run out of the chestnuts I’ve ordered, then I turn to the imported ones I find in the grocery store. And I sigh resentfully as I peel every last one of them, muttering under my breath, “These are such a bitch to peel!” The one advantage of imported chestnuts is that they’re often available through March.

Step 1: Make a criss-cross cut into each chestnut to help it release steam. SomeCriss-cross cut 2 people make the cut only on one side, but I find chestnuts much easier to peel with criss-cross cuts on both sides. To make the cuts, put a chestnut on a cutting board, hold it firmly with one hand, and make the cuts with the other. Don’t be timid. Poke the tip of the knife right into the chestnut shell, about 1/4-inch to 3/8-inch deep.

Alternatively, make a horizontal cut through the shell, all the way around the center portion of the chestnut, as if you were drawing the equator with your knife . This kind of cut makes it very easy to peel the chestnut after cooking.

Step 2 Cooking the Chestnuts:

Pot on stoveMethod 1 Boiling (preferred): Put the prepared chestnuts in a saucepan and add enough water to cover the nuts by about three inches. For 1 pound of chestnuts, I use a 4-quart saucepan. Cover the pot and bring it to a boil over high heat. Reduce the heat to medium and simmer the chestnuts, covered, for 25 to 35 minutes. TimerThen, turn off the heat. The shorter time will result in firm, fully cooked chestnuts. Longer cooking will make them softer to use in puddings and creamy recipes. Some varieties of chestnuts cook more quickly, while others take a few minutes longer. After 25 minutes of cooking, take one out of the pot, peel it, and give a taste test. If it’s done, turn off the heat.

Method 2 Roasting: Preheat the oven to 375 degrees F. Pile the prepared chestnuts onto a baking sheet and roast them 15 to 20 minutes. Cool them slightly and peel away. Some chestnut aficionados suggest soaking the chestnuts for about 20 minutes before roasting, claiming it makes them easier to peel.

Method 3 Stir-frying: Put the prepared chestnuts into a large, deep skillet with a small amount of oil, about one tablespoon for each pound of chestnuts in the shell. Use high heat and cook the chestnuts for about 10 minutes, tossing them continuously with a wooden spoon or shaking the pan to prevent the direct heat from burning them.

I prefer the boiling method because I’ve experienced uneven results with the roasting and stove-top methods. Quite often the chestnuts also need to be boiled to soften them enough for most recipes.

Step 3: Use a slotted spoon to remove only a few chestnuts at a time from the Removing from pot 2pot, about 4 or 5, and put them into a small bowl. The nuts will peel much easier when they’re quite warm. Have ready a bowl for the discarded nut shells and another bowl for the peeled chestnuts.

Step 4: Now you’re ready to peel. You can use the firm paring knife or a chestnut knife. Fix yourself a nice cup of tea, turn on some of Cup of teayour favorite music, and prepare for a relaxed peeling session that might take 20 to 30 minutes, depending on how many chestnuts you’ve cooked. Poke the point of the knife into the criss-cross cut and pull up on the peel.

Step 5: Chestnuts have a firm outer shell and and a soft inner skin called the pellicle. Sometimes both the outer shell and inner skin will come off together, but frequently they’ll have to be peeled away separately. Imported chestnuts cling fiercely to their pellicle (the skin) and do not release them without a tug of war.Peeling chestnut 2

Peeling shell 4

Peeling pellicle 4If you notice the chestnuts becoming difficult to peel, they’re probably quite cool. Don’t fight with them. Just put them back into the pot. Make sure there is enough water to cover the chestnuts and bring them to a boil again. Turn off the heat and return to the zen of peeling.

Peeled chestnuts jd3I hope you’ve rewarded yourself and tasted a few tidbits of broken chestnuts during the peeling session. The cooked and peeled chestnuts are now ready for incorporating into a recipe.

Family Tradition: I’ve become very fond of chestnut peeling and have convinced my family to join me in a peeling session the night before Thanksgiving. It’s actually become a cherished family ritual with everyone sitting around the kitchen table, knives in hand, and peeling away. it certainly makes quick work of the task with the American grown chestnuts. If I’ve saddled them with imported chestnuts, they swear just like I do and often leave me to finish the job. I really can’t blame them.

Storing the Chestnuts: If you plan to use the chestnuts within 3 or 4 days, coverCooked, peeled, & bagged them with plastic wrap and store them in the coldest part of the refrigerator. For longer storage, put them into a heavy-duty plastic bag and freeze them. Allow several hours to defrost them at room temperature before using. Defrosting chestnuts in the refrigerator will result in mushy nuts.

Well, you’ve just finished one of the most challenging task of the season. Now you’re ready to add those tasty nuggets of freshly cooked chestnuts to a delicious recipe.

Below are online resources for ordering fresh American-grown chestnuts.

Chestnut Resources:

Girolami Farms

11502 East Eight Mile Road

Stockton CA 95212

209.931.0158


Croft LLC,

121 E Front St., Suite 100

Traverse City, MI 49684

231-633-1277


Correia Farms

Phone: 866-492-4769


Allen Creek Farm

29112 NW 41st Ave.

Ridgefield, WA 98642

PO Box 841, Ridgefield, WA 98642

360-887-3669