
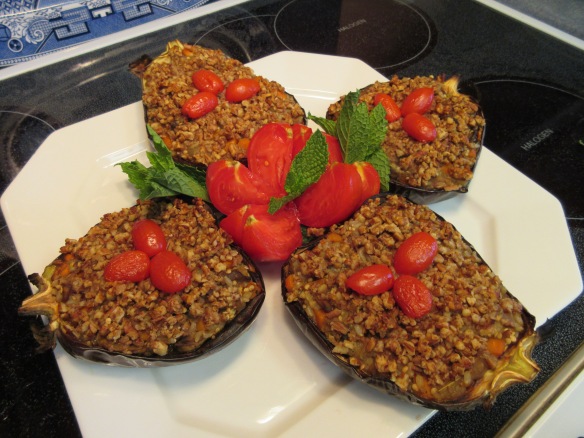
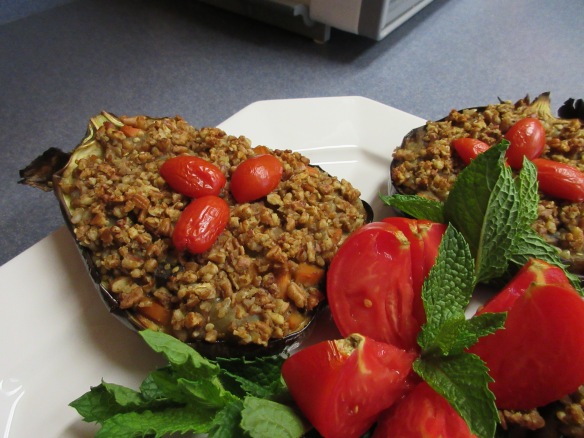
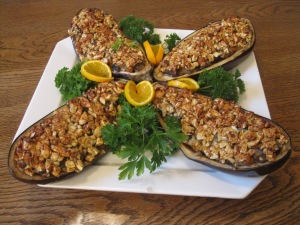
PECAN CRUSTED STUFFED EGGPLANT
An elegant dish for the festive occasion, these stuffed eggplants not only make an attractive presentation but they also bring delicious pleasure to the lucky guests who have come for holiday dinner. If the guests are eggplant lovers–even better!
To save time during the busy holiday season, you can make this dish a day ahead and cover it in plastic wrap before baking. Then, next day bring the eggplants to room temperature and bake them shortly before serving.
To determine which size eggplants to buy, it helps to be a little familiar with your guests appetites. Very hearty eaters will be able to handle one-half of the large 1-pound eggplant. Once it’s stuffed, it’s pretty impressive in size.
Those with more average appetites will be very satisfied with one-half of a 1/2-pound eggplant. Keep in mind that the mushrooms, carrots, and the brown rice mixed with the eggplant make even this size a robust serving.
I’ve chosen pecans for the crusty topping because of their natural sweetness, but chopped cashews or walnuts would also make excellent choices to give the topping a pleasing crunch.
PECAN CRUSTED STUFFED EGGPLANT
Yield: 8 average servings or 4 very hearty servings
Eggplant Stuffing
4 small eggplants, about 1/2 pound each for average servings or 2 large eggplants (1 pound each), for very hearty eater
1/2 pound fresh button, mushrooms halved and thinly sliced
7 garlic cloves, minced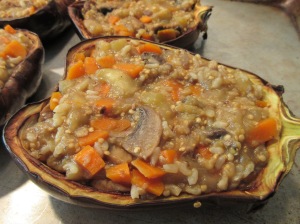
2 medium carrots, diced
1/2 cup water
1 1/2 teaspoons extra virgin olive oil
1 tablespoon plus 1 teaspoon soy sauce
1 tablespoon plus 1 teaspoon cider vinegar
1 tablespoon plus 1 teaspoon fresh lemon juice
1 cup cooked short grain brown rice
3/4 teaspoon salt, or to taste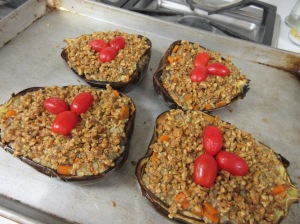
1 teaspoon garlic powder
1 teaspoon onion powder
Freshly ground black pepper
1 or 2 pinches cayenne
Topping
3/4 cup pecans, coarsely ground in a nut mill
1 tablespoon white miso
2 teaspoons Dijon mustard
Have ready a large, rimmed baking sheet. Cut the eggplants in half lengthwise. Using a serrated grapefruit knife or paring knife scoop out the eggplant flesh, chop it into bite-size pieces, and set it aside in a medium bowl.
Brush the shells inside and out lightly with oil, put the shells on the baking sheet, and put them under the broiler for 3 to 5 minutes, until the flesh is soft and golden brown. Remove and cool.
 Preheat the oven to 350 degrees F. Transfer the chopped eggplant flesh to a large skillet. Add the mushrooms, garlic, carrots, water, and oil and cook and stir over high heat for about 3 to 4 minutes.
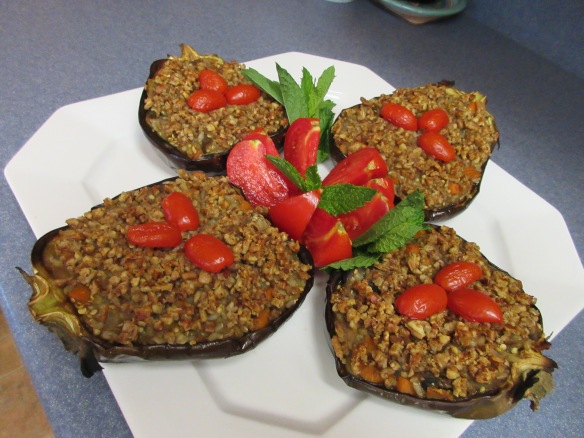
Add the soy sauce, vinegar, and lemon juice and cook another 1 or 2 minutes. Add the rice, salt, garlic powder, onion powder, pepper, and cayenne. Adjust seasoning if needed. Mix well and stuff the mixture into the eggplant shells, filling them to the rim. Store extra stuffing in the refrigerator and see note for leftover suggestion.
Put the topping ingredients in a small bowl and use the fingers to mix it well. Spoon the topping over the eggplant and press gently to secure it. Bake for 20 to 30 minutes and serve.
Note: Extra eggplant stuffing is delicious as an appetizer spread that can be spooned onto toasted pita wedges or crackers. These handy leftovers bring a delicious appetizer to the table quickly.


